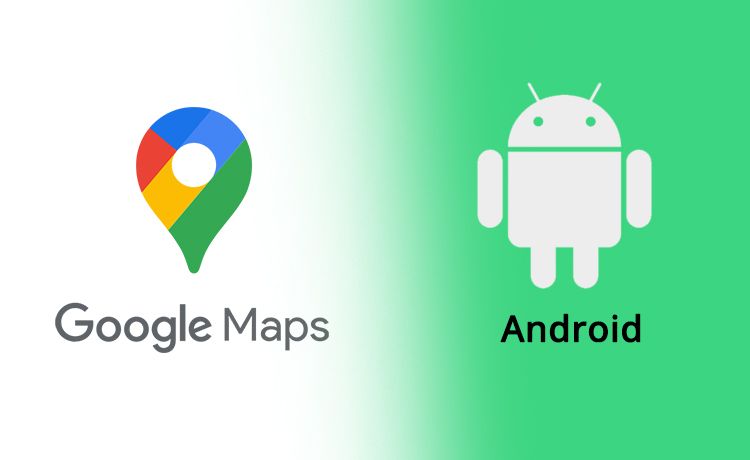
We welcome you to the right article to know how to build the latest google maps version in android applications. With the Maps SDK for Android, you can integrate Google Maps based on Google Maps data to Android mobile applications. Android Google Maps helps you to find out the location easily with lat long. It also provides you a lot of stuff like placing markers, zooming controls, etc.
Before going into the project creation, first things first should be done is Android Google Maps API integration. We need the SHA-1 key and the package name in order to get our application ID from Google Console.
Generate SHA-1 key on Windows
keytool -list -v -keystore "%USERPROFILE%\.android\debug.keystore" -alias androiddebugkey -storepass android -keypass android
Generate SHA-1 key on Linux/Mac
keytool -list -v -keystore ~/.android/debug.keystore -alias androiddebugkey -storepass android -keypass android
You can create an SHA-1 key using the above commands or else there is another way to release debug SHA-1 key. Go to Android Studio and click on Gradle which is located on the right side under that you need to click on “app->android->signingReport”. Now automatically one of the bottom tabs will open and list you the details of your application. Copy the SHA-1 key and we are ready now to generate our API key in Google Console.

How to generate API key in Google Console
Google Cloud Platform, Redirect to that URL and log in with your Google account. If you are new here then you need to create a project first. If the project already exists then you can go inside it.

Click on the side menu and you’ll be shown with a sidebar with some options where you can click on “APIs & Services->Credentials”, which will redirect you to the credentials page where we can create our API keys inside it.
On top there will be a label called “create credentials”. When you click on it, it’ll drop you options where you can create different keys for different integrations. As of now we need to click on the API key. Inside the API key creation, we need to paste our package name and SHA-1 key which we generated a second ago.
You can find out your package name in Manifest or Gradle file. But make sure we need to restrict to Android inside the API key creation in order to make work on only android apps.

Once we are done with all those above steps click on save. We are done with the generating API key. Copy the API key and keep it aside for a minute.

All the way to coding
Now come back to Android Studio and it's time for coding. Add dependency of google map in order to access all the functionalities into our application.
dependencies { Implementation 'com.google.android.gms:play-services-maps:16.1.0' } After adding it now it’s time to do some code in the Manifest file. Go to Manifest file and place this code. Replace your API key inside the value which you’ve recently generated in Google Console.
Add permissions which are used in maps
ACCESS_NETWORK_STATE INTERNET ACCESS_COARSE_LOCATION ACCESS_FINE_LOCATION
Add all these permissions inside the Manifest file.
Coming back to the MapActivity you need to design your map using fragments. Place this fragment in your MapActivity XML file.
fragment xmlns:android="http://schemas.android.com/apk/res/android" xmlns:tools="http://schemas.android.com/tools" android:layout_width="match_parent" android:layout_height="match_parent" android:id="@+id/map" tools:context=".MapsActivity" android:name="com.google.android.gms.maps.SupportMapFragment"
Fragment is also known as 360 degree activity where we can use it for maps and normal screens too.
In MapActivity you need to call the Support Map Fragment which you’ve declared in the xml file. You need to initialize it inside the onCreate method.
SupportMapFragment mapFragment = (SupportMapFragment) getSupportFragmentManager().findFragmentById(R.id.map); mapFragment.getMapAsync(this);
Everything inside the OnMapReady Method
When you initialize it, It’ll ask you to implement the method of maps which is known as “onMapReady()”. Simplest way to implement the method is: Place your cursor on “getMapAsync(this)” and press “Alt+Enter”. It’ll ask you to implement the method automatically.
Now you can see a method name called “onMapReady()”.
@Override public void onMapReady(GoogleMap googleMap) { } Inside this method you can place your markers on a map wherever you want, You can animate your camera, Markers can be customized and a lot more.
For placing markers you need lat lon of any place where you wanted to show. Market Options class is used to do that thing.
double latitude = ; double longitude = ; MarkerOptions marker = new MarkerOptions().position(new LatLng(latitude, longitude)).title("Hello Maps "); googleMap.addMarker(marker); Wanted to change the color of the marker which you’ve created? Then use the below code.
marker.icon(BitmapDescriptorFactory.defaultMarker(BitmapDescriptorFactory.HUE_ROSE));
By creating a marker you’ll always get the default marker icon. You can just change colors from it. If you want to place your own marker then we need to do like this. Place your image inside the drawable/mipmap folder and use it like below.
marker.icon(BitmapDescriptorFactory.fromResource(R.drawable.my_marker_icon)));
When we load maps we always want to zoom to a particular location without user interference. We can animate our map using the Animate Camera class in it.
CameraPosition cameraPosition = new CameraPosition.Builder().target( new LatLng(17.385044, 78.486671)).zoom(12).build(); googleMap.animateCamera(CameraUpdateFactory.newCameraPosition(cameraPosition));
We can Change our Map Type
As we all know that map has different types in it. We all are well known to google maps on our mobile devices.
googleMap.setMapType(GoogleMap.MAP_TYPE_NORMAL); googleMap.setMapType(GoogleMap.MAP_TYPE_HYBRID); googleMap.setMapType(GoogleMap.MAP_TYPE_SATELLITE); googleMap.setMapType(GoogleMap.MAP_TYPE_TERRAIN); googleMap.setMapType(GoogleMap.MAP_TYPE_NONE);
Note - By default google maps are set to NORMAL.
Some of the controls which we can handle in Maps
googleMap.setMyLocationEnabled(true); googleMap.getUiSettings().setZoomControlsEnabled(false); googleMap.getUiSettings().setZoomGesturesEnabled(false); googleMap.getUiSettings().setCompassEnabled(true); googleMap.getUiSettings().setMyLocationButtonEnabled(true); googleMap.getUiSettings().setRotateGesturesEnabled(true);
As I’ve shown the basic functionalities used in map, Google provides a lot more things in it.
Note - After all this stuff you need to enable Google Maps API in Google console in order to run your application.
Tips to Hire a Mobile app development Company that can grab your vision.
Develop your first android mobile application using google maps integration with Amar Infotech. In case any of your questions remain unanswered, you can directly talk to us, or leave us an email at sales@amarinfotech.com.
Recent Blog
How to Build a Horoscope & Astrology App Like Astroyogi 2026: Complete Guide

Build an Astrology App Like AstroSage Kundli: Features & Guide

Top 10 Astrology Apps in India (2026)-Best Horoscope & Kundli Apps

Play Store vs App Store: What’s the Real Difference in 2025? (More)

Specialized Company for Developing Grocery Delivery Apps (More)
Services
Build Your Agile Team Today..
Inquiry Now