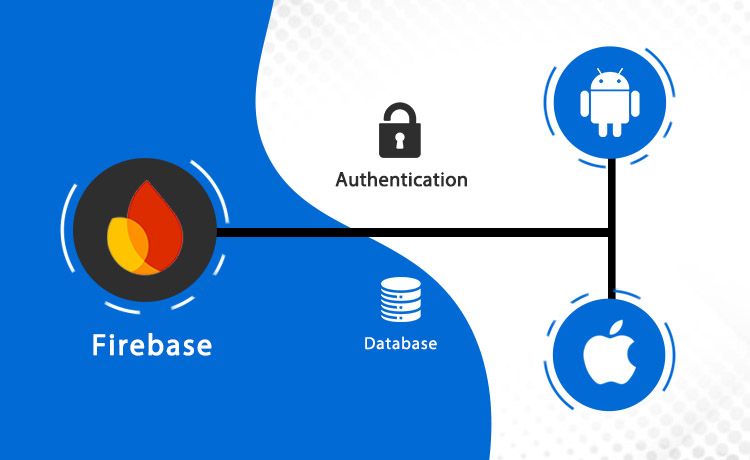
Want to save data from your app without using Web Services? Then you’re absolutely into the right topic. Firebase integration which is provided by Google is really helpful to save our data onto the server.
We use SQLite often when we don’t have JSON in our pocket. SQLite is a database which stores out data locally but not on a server. Whenever we uninstall and install our app then SQLite clears all of the data from our local storage. For handling that kind of situation we can bring the firebase auth with API into the right path.
Firebase using Android
How can we save our data into Firebase?
We can use the Authentication step in the firebase. Firebase Authentication has various methods to register data. We can use the Email and Password method in it. But the registration form doesn’t end up with email and password, User can sign up with extra details like gender, date of birth, phone number, etc.
For signing up with email and password we can use the Authentication method and for the extra details we can set up and use Real-Time Database in Firebase.
So we are ready to use two methods called,
- Android Firebase Authentication
- Firebase Real-Time Database
How do we integrate Firebase into our App?
First of all, redirect to this URL Google Firebase Console and login with your email account. As shown in the figure below, try to create a new project with a specific name.

After creating your project successfully now you need to choose your application type. We need to write our application package name and need to download the firebase config file “google-services.json”.
After downloading the file we also need to follow some steps to add firebase to the android project. Mostly we need to add dependencies and JSON file into our project in order to integrate firebase.

Package name is always present in your project which you are developing. Either in the Manifest file or Gradle file, you can find your application package name at the topmost side of these files. The package is also known as application ID. In the manifest, it is written as package name and in Gradle, it is written as application ID.

Above shown is the first step of integrating firebase into our app(adding the package name). However, the Second step leads us to add the “JSON” file into our project. Now almost all of them are wondering where should this file get added in? See the below picture.
All you need to do is follow that in order to add a JSON file in your project.

Coming to the final step of integrating firebase. Developers find it hard to add firebase dependencies into applications. Because it gives conflicts sometimes. So you might be aware now what the third step would be. Yes, we need to add firebase dependencies into our build.Gradle file.
We need to add in both the Gradle files. In the project module(Gradle) add the classpath of firebase and build it up. In the App module(Gradle) you need to add all the dependencies of authentication, core, and real-time database in order to access their functionalities.
These are the steps that you need to complete to integrate the firebase in our application.

If you found confusing adding these dependencies manually, you can also add it through the android studio directly. Go to “tools” on the topmost menu in android studio and click on it. You’ll be displayed with some options, click on “Firebase”. It opens up the sidebar with all firebase tools. Just add whatever dependencies you’re going to use in your application. After clicking done on each tool it automatically adds dependency in your Gradle files.
Getting into the code
Finally, all the integrated parts are done. Make sure you check all the dependencies and json file added correctly.
We need to register our form into a firebase using Authentication and Database. First we will take help of Authentication to register email and password of the detail form.
private FirebaseAuth mAuth; mAuth = FirebaseAuth.getInstance();
Declare FirebaseAuth globally with any of the objects and initialize it in the onCreate method. Once you’re done with the initialization part you need to call a method that creates/registers the user into authentication.
mAuth.createUserWithEmailAndPassword(email, password) .addOnCompleteListener(this, new OnCompleteListener(){ @Override public void onComplete(@NonNull Task task) { if (task.isSuccessful()) { } else { } } });
Pass the email and password that user types(Edit Text values) into “createUserWithEmailAndPassword” method. And you need to initialize a listener(addOnCompleteListener) in order to check if your entered details are successfully created in Firebase Authentication or not.
Once you’re done with the Authentication all we need to do is register the rest of the details using Real-Time Database.
DatabaseReference myRef; myRef = FirebaseDatabase.getInstance().getReference().child("message"); String uid = FirebaseAuth.getInstance().getUID(); myRef.child(uid).setValue(yourData); Declare and initialize the Database same as Authentication. Create a database when authentication is successfully done. As you see, “child(“message”)” is the name of a table that you create for your application. And add an ID every time when users try to register. So that it will maintain different users on ID base.

As you see in the above picture, the Table name is “products” and under that ID’s are separated with specific users. Inside the ID’s each user-product details are listed. This is how Firebase Authentication and Real-Time Database manage to create users with long form’s.
How do we login now?
You need to initialize both Authentication and Real-Time Database as you did before in registration.
mAuth.signInWithEmailAndPassword(email, password) .addOnCompleteListener(this, new OnCompleteListener() { @Override public void onComplete(@NonNull Task task) { if (task.isSuccessful()) { } else { } } });
Just a slight change in method name compared to Sign Up, the name will be “signInWithEmailAndPassword”. Rest of all will be the same in order to pass values.
Now how do we get our particular registered user value after login?
It’s very simple, you just need to call another listener in order to fetch all the user details which you’ve registered using a real-time database.
After the initialization of the database, call the method “addValueEventListener”.
myRef.addValueEventListener(new ValueEventListener() { @Override public void onDataChange(DataSnapshot dataSnapshot) { String value = dataSnapshot.getValue(String.class); } @Override public void onCancelled(DatabaseError error) { Log.w(TAG, "Failed to read value.", error.toException()); } }); As we did registration using the database by calling setValue(), Now it’s time to get the values. So you just need to call getValue() method as shown in the above code.
Firebase using iOS
There is a lot of difference in coding compared to Android but the logic behind it is always the same(I mean the concept). The difference in the sense, we need to add an SDK instead of a JSON file and a lot more changes in firebase integration with iOS. Let’s look into some basics of Firebase in iOS.
How do we connect to Firebase with an iOS application?
You need to add and install firebase iOS SDK into your project. You can just follow the steps given here: Install the Firebase iOS SDK.
Add the below dependency to “Podfile” in order to work around Firebase Authentication.
pod 'Firebase/Auth' pod 'Firebase/Core'
Now run the following command : pod install
Don’t forget to create the project in Firebase Console first.
Now we are ready to integrate Firebase Authentication into our project, We need to import the following Firebase SDK.
import Firebase
Call Configure() function from Firebase SDK in order to get access to Firebase Services.
FirebaseApp.configure()
When a user tries to Authenticate with Firebase Authentication, There is an Authentication State which always observes whether the user instance is there or not. To check whether a user is currently authenticated with Firebase Authentication or not.
At this point I’m trying to explain how users get authenticated and manage the account details.
All we need is Email and Password of which the user enters in the text field.
Auth.auth().signIn(withEmail:emailField.text,password: passwordField.text) { (user, error) in}When we trigger this listener, firebase does the signIn() through authentication and the results will be back from FIRAuthError or FIRAuthDataResult to check whether the user is successfully logged In or not.
Before login we definitely need to signUp into firebase authentication.
Auth.auth().createUser(withEmail:emailField.text,password: passwordField.text) { (user, error) in}By using the above code you can simply register user details into the firebase console.
As we discussed a little bit of basics of how to integrate Firebase Authentication into iOS, I always suggest you to refer to the Google official docs.
In this blog, we learned how to use the Firebase Realtime Database with Android application development and iOS application development. We saw one example of the same. You can go through our blog Top 10 Benefits of Firebase for Mobile apps development.
Recent Blog

How to Build a Horoscope & Astrology App Like Astroyogi 2026: Complete Guide

Build an Astrology App Like AstroSage Kundli: Features & Guide

Top 10 Astrology Apps in India (2026)-Best Horoscope & Kundli Apps

Play Store vs App Store: What’s the Real Difference in 2025? (More)

Specialized Company for Developing Grocery Delivery Apps (More)
Services
Build Your Agile Team Today..
Inquiry Now