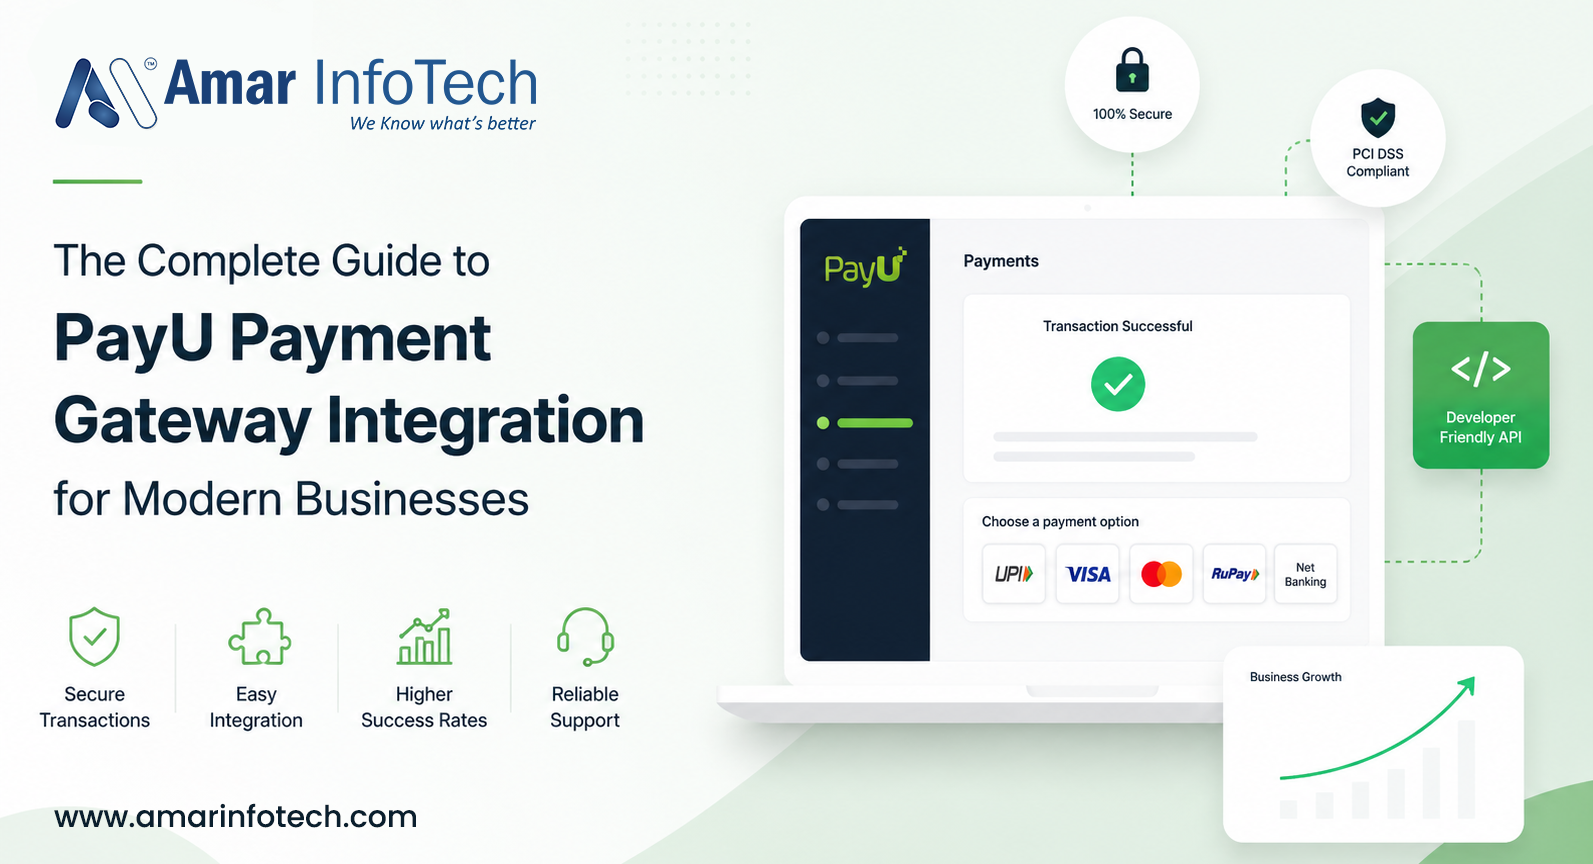
Introduction to PayU Payment Gateway
In today's hyper-competitive digital marketplace, accepting online payments seamlessly is no longer a luxury it is a business necessity. Whether you run a budding e-commerce startup or a large-scale enterprise, integrating a reliable payment gateway is the cornerstone of your revenue infrastructure. Among the most trusted solutions globally is the PayU payment gateway, a fintech powerhouse that empowers businesses across emerging and established markets.
This guide is designed to walk you through everything you need to know about PayU payment gateway integration from understanding the platform and its features to executing a technical API setup and following best practices that maximize conversion rates.
What Is PayU and Why Does It Matter?
PayU is a global fintech company and online payment gateway provider operating in over 50 markets across Africa, Asia, Central and Eastern Europe, and Latin America. Founded in 2002 and owned by Prosus, PayU processes billions of dollars in transactions annually, making it one of the leading payment gateway providers worldwide.
For businesses operating in high-growth markets particularly in India, Brazil, Poland, and South Africa PayU payment solutions are often the first choice due to their local payment method support, competitive transaction fees, and deep regulatory knowledge.
Key Features of PayU Payment Gateway
- Multiple Payment Methods: Supports credit cards, debit cards, net banking, UPI, wallets, EMI, BNPL (Buy Now Pay Later), and more.
- One-Click Checkout:PayU's tokenization enables returning customers to check out faster, boosting conversion rates.
- International Payments: Accept payments in multiple currencies from global customers.
- Recurring Billing: Subscription management and auto-debit features for SaaS and membership businesses.
- Smart Routing: Dynamically routes transactions to maximize success rates.
- Fraud Detection: Real-time risk assessment powered by AI/ML algorithms.
- Developer-Friendly APIs: RESTful PayU API with SDKs in PHP, Java, Python, Node.js, and more.
- Dashboard Analytics: Comprehensive reporting and settlement management tools.
How PayU Payment Gateway Works
Understanding the payment flow is essential before starting your PayU integration. Here is a simplified transaction lifecycle:
- Customer initiates payment on your website or app checkout page.
- Your server sends a payment request to PayU API with transaction details (amount, customer info, product info) and a hash key for verification.
- PayU's payment page (hosted) or your custom UI (non-hosted) presents payment options to the customer.
- Customer completes payment via their chosen method (UPI, card, net banking, etc.).
- PayU processes the transaction and communicates with the issuing bank.
- PayU sends a success/failure response to your server via a callback URL (webhook).
- Your system updates the order status and shows confirmation to the customer.
Step-by-Step PayU Payment Gateway Integration
Step 1: Create a PayU Merchant Account
Visit the official PayU website and sign up for a merchant account. You will need to provide business details, KYC documents, and banking information. Once approved, you receive your Merchant Key and Salt the two critical credentials for API authentication.
Step 2: Access the PayU Sandbox Environment
Before going live, always test your integration using the PayU sandbox (test environment). The sandbox URL is https://test.payu.in/_payment for India. Use test credentials provided in the developer dashboard to simulate transactions without processing real money.
Step 3: Generate the Hash / Checksum
Security in PayU API integration relies on a SHA-512 hash. The hash is generated using the following formula:
hash = sha512(key|txnid|amount|productinfo|firstname|email|udf1|udf2|udf3|udf4|udf5||||||SALT)This hash ensures data integrity and prevents tampering during the payment gateway request.
Step 4: Build the Payment Form
Create an HTML form with hidden fields that POST to the PayU payment URL. Required parameters include:
- key - Your Merchant Key
- txnid - Unique transaction ID generated by your system
- amount - Transaction amount
- productinfo - Product description
- firstname - Customer's first name
- email - Customer's email address
- phone - Customer's phone number
- surl - Success callback URL
- furl - Failure callback URL
- hash - The SHA-512 hash generated in Step 3
Step 5: Handle Callback Responses
After payment, PayU sends a POST request to your surl (success) or furl (failure) with transaction details. Always verify the response hash on your server before updating the order status to prevent fraud.
Step 6: Go Live
Switch your integration to the production PayU endpoint (https://secure.payu.in/_payment) and replace sandbox credentials with live merchant credentials. Conduct a final end-to-end test transaction before launching.

PayU API Integration: Technical Deep Dive
PayU offers two primary integration modes for developers:
A. Hosted Payment Page (Redirect Model)
The simplest approach your customer is redirected to PayU's secure hosted payment page to complete the transaction. This minimizes your PCI DSS scope and development effort, making it ideal for small businesses and first-time integrators.
B. Seamless / Custom UI Integration
For businesses that want full control over the checkout experience, PayU's seamless integration allows you to collect card details on your own page and pass them securely to the PayU API. This requires stronger PCI DSS compliance on your end.
C. PayU SDKs for Faster Integration
PayU provides official SDKs to simplify payment gateway integration:
- PayU PHP SDK - ideal for WordPress, Magento, and Laravel projects
- PayU Node.js SDK - for Express.js and Next.js applications
- PayU Android SDK - native Android in-app payments
- PayU iOS SDK - native iOS in-app payments
- PayU React Native SDK - cross-platform mobile payments
Security and Compliance in PayU Integration
Security is non-negotiable when it comes to online payment gateway integration. Here's how PayU addresses security and how you should too:
- PCI DSS Compliance:PayU is PCI DSS Level 1 certified, the highest standard for payment card data security.
- SHA-512 Hash Verification: All transactions use a tamper-proof hash for request and response validation.
- SSL/TLS Encryption: All communication between your server and PayU API must occur over HTTPS.
- 3D Secure Authentication:PayU supports 3DS for card transactions, adding an extra layer of customer authentication.
- Tokenization: Card details are tokenized so sensitive data is never stored on your server.
- Webhook Signature Validation: Always verify webhook payloads using the response hash before processing order updates.
PayU Integration With Popular Platforms
- PayU WooCommerce Integration: Use the official PayU plugin available on the WordPress plugin repository for seamless integration with WooCommerce stores.
- PayU Magento Integration: PayU offers a dedicated Magento 2 extension for enterprise e-commerce stores.
- PayU Shopify Integration: Integrate PayU as a custom payment gateway on Shopify using their Payments API.
- PayU OpenCart Integration: An official OpenCart extension supports quick setup.
- PayU PrestaShop Integration: PayU module available for PrestaShop merchants.
Best Practices for PayU Payment Gateway Integration
- Always validate on the server side: Never trust client-side data. Verify hashes and amounts on your backend before confirming orders.
- Use idempotency: Generate unique txnid values for every transaction to avoid duplicate payments.
- Implement webhook handling: Don't solely rely on redirect callbacks implement webhook listeners for reliable order status updates.
- Test all failure scenarios: Use PayU sandbox to test declined cards, timeout scenarios, and bank failures.
- Optimize your checkout UX: Fewer steps and auto-filled forms significantly improve conversion rates.
- Monitor transaction success rates: Use the PayU dashboard to track payment failures and identify patterns.
- Keep credentials secret: Never expose your PayU Merchant Key or Salt in frontend code or public repositories.
Common Errors and Troubleshooting
- Hash Mismatch Error: The most common issue. Double-check the hash formula, ensure consistent parameter order, and watch for extra spaces or encoding issues.
- Invalid Merchant Key: Ensure you're using the correct key for sandbox vs. production environments.
- Payment Stuck on Processing: Check webhook logs; PayU may have responded but your server failed to process it.
- Callback URL Not Reachable: Ensure your surl and furl are publicly accessible and not blocked by firewalls during testing.
- Transaction Amount Mismatch: The amount in the PayU response must exactly match what you sent; always verify to prevent manipulation.
Conclusion
PayU payment gateway integration is a smart investment for any business looking to offer a seamless, secure, and feature-rich checkout experience. Whether you are integrating for the first time or migrating from another provider, PayU's robust API, extensive SDK support, strong security standards, and local payment expertise make it one of the top choices for modern businesses in emerging markets.
By following the step-by-step process outlined in this guide from setting up your merchant account and generating secure hashes to handling callbacks and testing in the PayU sandbox you can have a fully functional PayU payment gateway running on your platform in no time.
Start your PayU integration today, and give your customers the fast, trusted, and flexible online payment experience they deserve.
Recent Blog

How to Choose the Right L&D Consulting Company for Your Business

The Smart Business Guide to Razorpay Payment Gateway Integration

How Amar Infotech Is Helping Businesses Stay Ahead in the Web 4.0 Era
PhonePe PG Payment Gateway Integration complete guide (More)

Top 7 Digital Marketing Trends, Strategies For Your Business (More)
Services
Build Your Agile Team Today..
Inquiry Now